Saturday, April 30, 2011

How to Dock Lamb's Tails - in two shakes of a lamb's tail.


The first lambs to make their presence this year were an adorable set of twins we named Esther and Mordechai.  Can you guess their birthdate by their names?


When the lambs are about one week old, we dock their tails.  We've debated back and forth about whether or not we should leave the tails alone.  Afterall, "if God wanted them to have short tails, He would have created them that way!"  Well, maybe... if they weren't in captivity and could roam the hills to an area away from "flystrike".  Flystrike is a condition caused by the sheep's manure getting caught between the offending tail and their bottom.  Flies lay eggs in the manure and maggots can be seen crawling through the woolen area, causing open sores.  Gross, right?  This is why we dock the tails.  There are many things that are necessary to maintain for animals on a farm that wouldn't normally need to occur in the wild. Burning goat horns is another "necessity" for domesticated goats - but I'll save that discussion for another day.


Docking lamb's tails is much easier than it sounds.  We use a castrating device and castrating bands.

 
The bands look like green "cheerios" made of rubber.


The band is placed on the castrating tool and opened to the width of the lamb's tail.


We place the band about 3 inches from the top.  Enough to cover their "hole", but not much further. 


The lambs don't realize, at first, that the circulation is slowly being cut off from their lower tail.


However, after a few minutes, they run around trying to get away from the discomfort following behind them.  It doesn't last long.  Usually within an hour they are back to what they were doing before the ordeal.


It takes about 10 days to a couple of weeks for the tail to finally fall off painlessly.  When we notice that the lambs are sporting their new "tail-less-ness" we compete amongst ourselves to see who can find the lost tail.  Unfortunately, our dogs are usually the ones to bring home the "prize".  


And there you have it!  Easy as that!

Not quite as quick as "two shakes of a lamb's tail", but quick and easy nonetheless.
Happy docking!

Tuesday, April 26, 2011

Sowing Seedlings


Even though our evening temperatures are still below freezing, our daytime temps are climbing nicely toward warmer spring weather.  HOPE!  It's been a long winter, one we won't soon forget.  In our climate, when warm weather finally arrives, it comes on with a vengeance.  That being said, it's time to plant those seeds that need a boost before setting them in the welcoming soil.  Cabbage, cauliflower, tomatoes, herbs, onions, etc.


A couple of years ago, I noticed that our local hardware store were selling these neat little greenhouses to help start seeds.  Basically, it was just a plastic container with preformed cups of soil covered with clear plastic.  For about $10, someone could start a dozen seeds on a sunny window sill and be ready for spring planting.  My first thought was, "Someone is a genius for thinking to market something so simple."  My next thought was for those poor unsuspecting souls that will pay $10 for something they could easily do at home with materials on hand.  


During the winter months, we begin saving all of our lettuce, spinach and yogurt containers:


The lettuce containers are just clear plastic boxes with a lid.


The yogurt containers are from Nancy's and have these neat little lids that keeps the fruit seperate from the yogurt until you combine the two.  


First, we organize the seeds and decide which seed will go in which container, then we label the container's accordingly. 
We poke holes in the bottom of the containers and set them on "drip trays" to catch any moisture and for easier watering later on ( we fill the drip trays with water and let the soil pull the moisture to the seed.)


Next, we put the planted seedlings in our garage against a sunny window.  Because we have more seeds than can take advantage of the full sun, we hung a grow light above the seedlings near the back. Also, we put a heater (set on low) under the tables since our garage is unheated.


We keep the soil moist and the lids on the containers until we see the seedlings peak their heads up from the soil.  


We planted these seeds 5 days ago and already we're seeing good progress on their growth.


 These should be good and stable for planting in the garden in a few weeks.


 The next project is to get the garden ready to receive these seedlings and even more seeds.  I'm impatiently waiting for the sun to give up it's warmth...soon I hope!


Thursday, April 21, 2011

Confessions of a Slacker

It's been nearly 2 months since I last updated my blog.  Why?  Because I'm a slacker.  Call it what you will, there is just no getting around being a perpetual procrastinator.  Oh, I have good intentions, but as a billboard I recently read states: "The road to Hell is paved with good intentions."  I laughed out loud when I read this and said to myself, "Well, I guess that means I'm going to H - E - double-toothpicks!"

Within the past 2 months, I have:  been to Oklahoma to visit our daughter at college, had several lambs and goats born, watched our 20 year old son ferry an antique airplane across the country (only to have engine failure mid-flight), helped return a prolapsed uterus in a too-young mama goat, sent my husband and youngest son to San Francisco to see our niece's wedding, hatched out 25 chicks, made a decision with the family NOT to move to Hawaii, and most importantly - developed several new friendships in our community.

All this plus the usual springtime-doings on the farm.

I've intended to "blog" about all of the above and more.  I've even taken pictures and started to write new blogs several times.  Titles such as: "How to dock a lamb's tail in 2 shakes of a lambs tail", "College Cafeteria Blues", and "Hatchin' Out Turkey's", are all half-written and in my edit box.  Complete with pictures. *Sigh*

So, what's the hang-up?  I'm not exactly sure.  I'd like to say that it's because we're so busy being busy that I simply don't have the time.  This is partly true. However, in retrospect, I suppose it's also partly because I'm a bit melancholy of where technology has taken us.

A friend called the other day and asked why I hadn't been on Facebook lately.  She noticed I hadn't updated my status and was concerned that something had happened to make me pull away from the social network.  Though I was encouraged that she called to check-up, I wondered if our quick glimpses into eachother's lives had taken the place of the friendly chats that can only come by face-to-face, sit-down-to-coffee conversations.  She confessed that she thought maybe I was depressed since I didn't appear to have enough Facebook "friends".  I smiled into the phone and gave a little chuckle. At the point she told me this, I was cleaning up from a dinner party we had at our house the night before with 14 of our friends in attendance.  Of which I didn't share on my Facebook page.  It was a lovely evening, spent in praise and worship.  It is an evening I will always cherish - somehow posting it on Facebook would have taken away from the special memory.

Last week, we received a hand-written letter in the mail.  I think it's the first hand-written letter we've gotten in years (since email came along.)  It was from an elderly woman we had met last Fall at a gathering several hours away.  She was writing to let us know of a conference that was coming up in our area and thought we'd like to know.  She then went on to share little tidbits about her life - about her grown children, her cat, her loneliness.  Handwritten with emotion, very special.  She doesn't have email and I doubt she even has internet - which is refreshing.  I sat down and penned a letter back to her (after I dug out the yellowed stationary from the back of the desk).

We have an elderly couple living down the road from us, he a retired vet and she a retired nurse.  They spend their days caring for their 6 dogs and 8 horses.  We've learned that when we go over to their house (which is at least weekly to share from our over-abundance of eggs) we make sure that we only go when we have time to "sit and chat a spell."  It seems that their coffee pot is never empty and they pour you a cup whether you want one or not.  The stories we've heard from their experiences are rich with history and full of lessons to be learned in life.   They should have a blog! But no, they don't have internet.  And it wouldn't be the same.

Yesterday, another elderly friend, recently widowed, stopped by our house.  I was outside hanging laundry on the clothesline and was trying to hurry so that I could get some spring planting done. "I don't want to keep you from your work," she said.  "I was in town and my prescription won't be filled for another couple of hours. I don't want to go back home so I thought I'd see if you wouldn't mind a visit."  The soggy laundry sitting in the basket and the seeds in their packets can wait.  I put the teapot on and listened attentively while she shared her life.  Again, so much to be learned.

I love reading blogs.  Like my friend, Teresa, once said, "Reading blogs is like reading a good book you can't put down."  So true!  And Facebook isn't evil, in fact it's nice to keep up with friends we haven't seen in 20 years or more...and friends and family we'd like to see more often but can't because of distance or time-constraints.  But what I don't want to be guilty of is using Facebook or blogging as a replacement of good old-fashioned conversation.

All this to say, I will stop procrastinating and start updating my blog.  However, if you ever find yourself in our neck of the woods, please stop by for a cuppa' and conversation.  We have much to learn from eachother - and may the warmth of friendship never be replaced by technology.

Thursday, February 24, 2011

Soup and Crackers...in the RAW! Plus, Pumpkin Spice Bars

This really isn't a raw-food blog, but for the past few posts and the next several posts, I'm highlighting several of our favorite raw-food recipes for our daughter and her college friends.  They have challenged themselves to eat an exclusive raw-food diet for the next 30 days - an excellent idea that will help them have the energy and mental stamina to get them through their rigorous studies!

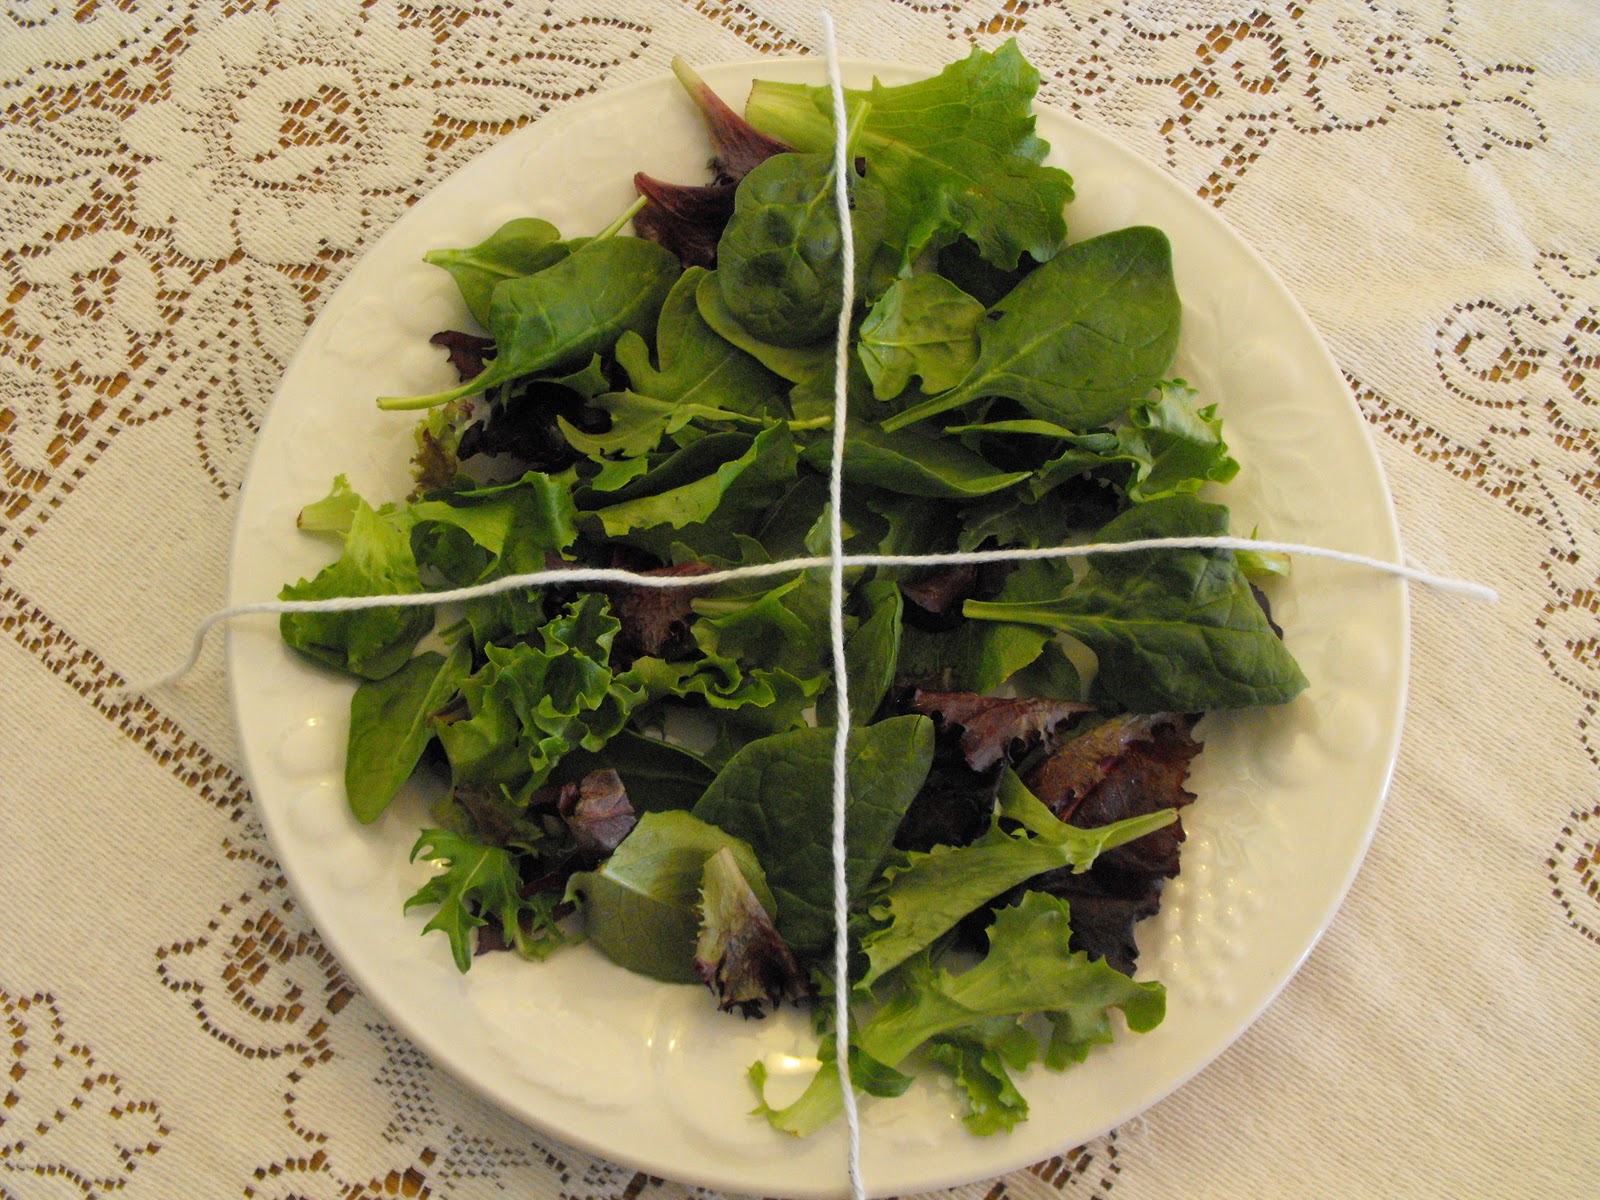
Soups are one of the easiest raw foods to prepare - and one of the tastiest to consume.  The nutrients are easily digested and will give you immediate energy.  To remain truly "RAW", the soups should be served at room temperature or a little warmer if you like.  

Today I'll be showcasing these recipes:

Sweet Potato Carrot Ginger Soup
Spicy Red Pepper and Jalapeño Soup
Sunflower Flax Crackers
Pumpkin Spice Bars

Sweet Potato Carrot Ginger Soup


4 cups carrot juice (from about 4 lbs. of carrots)
1 sweet potato, cut into chunks
1 avocado
1 Tbsp. minced fresh ginger
2 Tbsp. ground flax
1/2 tsp. pumpkin pie spice
1 Tbsp. honey
pinch of salt
Place all ingredients in a blender and blend until smooth.  

A few words about the above recipe.  First, if you don't have a juicer, finely grated carrots will work just fine.  Instead of the 4 cups of carrot juice, use 1 cup finely grated carrot and 3 cups filtered water.  If you do use a juicer...

 
            ...be sure to save all of the carrot pulp. We'll be using it to make our "Pumpkin Spice Bars" later. 


Ground flax seed is an essential ingredient to the soup and cracker recipes.  Not only are flax seeds extremely heart-healthy, they also provide a "binding" agent that thickens the soup and holds together the ingredients of the crackers.  Buy whole flax seeds and grind them yourself. 

I use a handheld coffee grinder, but an electric one works great too!


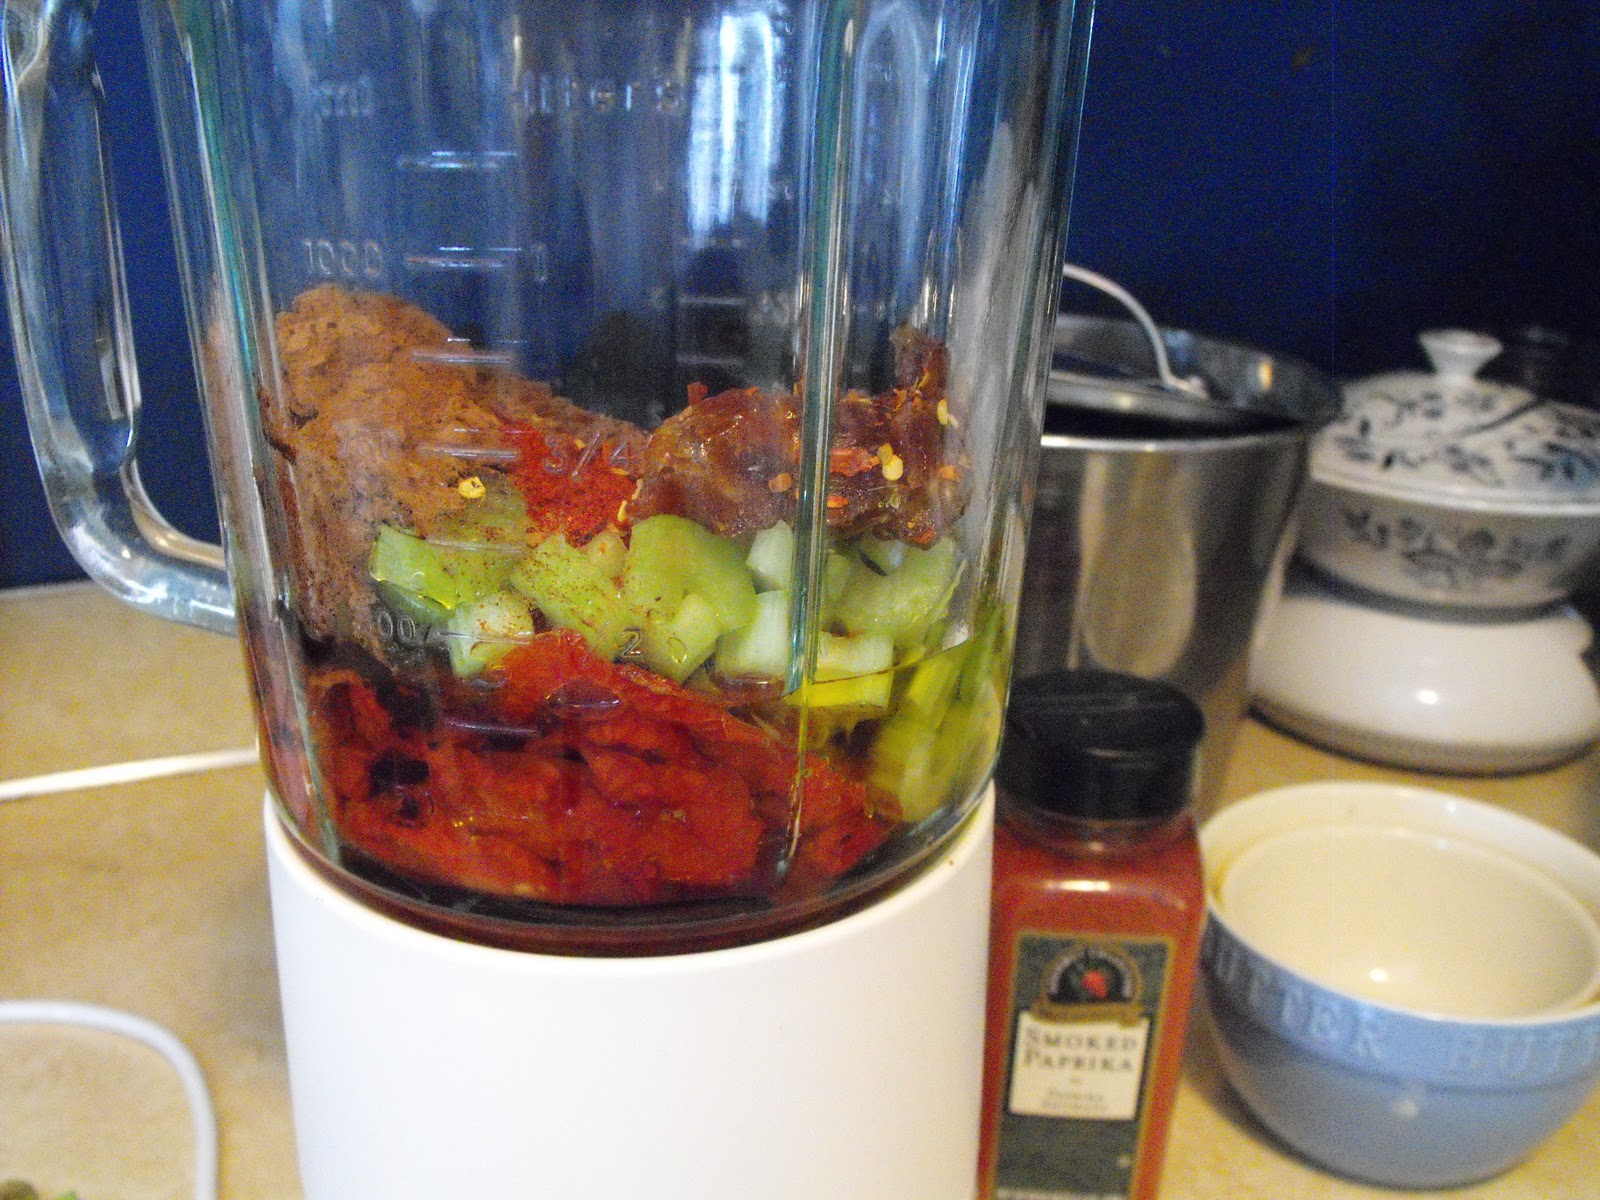
This next recipe is a favorite around here!  Even though it's not "heated", the heat from the peppers are enough to warm you up on a cold winter day.

Spicy Red Pepper and Jalapeño Soup

2 large red bell peppers, chopped
4 ribs celery, sliced
2 - 4 cloves garlic
1/4 cup raw cashews (or other raw nut)
2 Tbsp. ground flax seed
2 jalapeno, seeded and chopped
1/2 tsp. sea salt
2 Tbsp. olive oil
2 cups filtered water
Blend all ingredients in a blender and blend until smooth.
(P.S. To non-raw people out there: my son likes to put a bit of this soup over corn chips and heat in the oven until bubbly.  It makes an excellent, healthy substitute for nacho cheese!)


This recipe for sunflower flax seed crackers are "baked" in a dehydrator, but an oven set on it's lowest heat will work too (if you don't have a dehydrator).

Sunflower Flax Crackers
Mix together in a mixing bowl:  
1 cup ground flax seeds 
1/3 cup whole flax seeds
2/3 cup raw sunflower seeds
1/4 cup sesame seeds (optional)
2 cloves garlic, minced (or 2 tsp. powdered garlic)
1/2 onion, finely chopped
1/2 tsp. sea salt
1 1/3 cup water

Spread on dehydrator trays and dehydrate for 4 hours at 105 degrees. 

 Remove from trays and cut into crackers, then return to dehydrator for another hour. 
These crackers are great by themselves, or as a base for raw spreads and veggie burgers (I'll post our recipe for veggie burgers soon!)

After juicing carrots, I found that I had an ABUNDANCE of carrot pulp leftover.
I could just throw it to the chickens and turkeys, but I wanted to see if there were any uses for us humans before chucking it out to the farm animals.  My research led me to the following recipe and I'm so glad to have found it!  Even though it contains NO pumpkin, this recipe surprisingly has the texture and taste of a light, fluffy pumpkin pie.  We can get away with calling it "Pumpkin Spice Bars" since it has pumpkin spice added to it. :)

Pumpkin Spice Bars

For the filling, blend together in a food processor:
3 cups carrot pulp (or 2 cups finely grated carrots)
1 1/2 cup walnuts (or other raw nut)
1 cup pitted dates, soaked for at least an hour in 2 cups warm water
1 Tbsp. fresh minced ginger
3 tsp. pumpkin pie spice
1 Tbsp. honey
3 Tbsp. coconut oil (optional)
pinch of sea salt
Blend until smooth, adding the date water as needed for creamy texture.

For the crust, mix together finely chopped walnuts (or other raw nut) and 1 tsp. cinnamon.  Spread nut mixture evenly in a 9x13 pan.  Gently spread the carrot mixture on top of nuts.  Chill until firm.  Cut into squares and serve with a dollop of "Luscious Whipped Cream" and sprinkle with cinnamon.  YUM!

With our daughter away at college 1880 miles away, it's been fun to put together these recipes for her.  It's almost as if she is here looking over my shoulder, in the kitchen, sharing in the tasting and experimenting. 

I love and miss you sweet girl!!

Monday, February 21, 2011

Living Recipes - hummus, wraps, and walnut cream

Winter still has a grip around here!  The low temperature was in the teens last night and is expected to not get above freezing today.  While we wait for the warm weather to return and thaw the soil for Spring planting, we're making use of the dehydrated and frozen produce we harvested last Fall for such a time as this.  

The first recipe I want to share with you today is a rendition of hummus using zucchini that (we think) is better than the bean version.  We usually make use of the fresh zuchinni from our garden, but today I'll be using zuchinni from our freezer.  I wasn't sure how it would turn out, but I'm very pleased with the results! 

Zucchini Hummus:
2 cups zucchini, chopped
2 cloves garlic
1/3 cup extra virgin olive oil
Juice of 1 lemon
1/2 cup tahini
1 tsp. sea salt
2 Tbsp. parsley leaves, chopped
1 tsp. cumin
1 tsp. red pepper flakes
Process all in a food processor until well blended. This is a wonderful filling for lettuce or cabbage wraps!

We use the leaves of swiss chard, cabbage and romaine lettuce as a substitute for bread.  It's fun to experiment ways to fill the wrap!  It always make a pretty presentation, making even the simplest lunch seem special.

When the swiss chard is in full swing, I'll rub each washed leaf with lemon juice and sea salt and stack in a covered casserole dish in the fridge, ready to be used through out the week.  Today, I'll be using store-bought romaine lettuce leaves (I miss Summer!).

First, cut the lower third out of the spine of the washed leaf.

Next, firmly roll a glass jar or rolling pin down the center of the spine.  This breaks down the cellular structure and will ease the wrapping of the leaf.

Fill the wrap with hummus or some other creamy spread.  Layer with cucumbers, peppers, avocado, sprouts, etc.  Be creative!

Roll the leaf tightly and cut down the center.

Serve with organic tamari sauce for added "zing".

We aren't milking any of our goats right now; we're letting them take a break before they have their babies this Spring.  It's always a struggle this time of year - we refuse to buy store-bought milk.  We've tried soy milk and rice milk, but have a difficult time finding any that isn't genetically modified (another no-no in this household).  Almond milk is a good alternative, but can be expensive.  While pondering our milk-less-ness, we recently stumbled upon another alternative that was right under our noses this whole time!  WALNUTS!  We have an English walnut tree that drops it's load by the buckets every Autumn. 

This nut-milk recipe will work with just about any nut you would normally consume, so you can make adjustments depending on the nuts you have available.  Be sure to soak the nuts in filtered water for about 8 hours and then drain off the soaking water before making the milk.

 Luscious Walnut Milk
2 cups soaked and drained walnuts
2 cups filtered water
2 tsp. vanilla
2 Tbsp. honey
1/2 tsp. sea salt
Blend together until smooth and creamy. 

Strain the milk into a cheesecloth lined bowl.

Squeeze out any excess liquid....

Mmmmm....all we need are some carob coconut cookies!

WAIT!!! Don't throw out the leftover walnut pulp!  With a few more ingredients and a few more turns with the blender, you'll have a luscious whipped cream that is better than we ever imagined whipped cream could be!

Luscious Whipped Cream:
2 cups walnut pulp
3 Tbsp. raw coconut oil, gently melted
2 tsp. vanilla
1 Tbsp. honey 
Walnut milk, as needed
Whip together in the blender, adding walnut milk to reach the right consistency of whipped cream.  

You won't believe how wonderful this cream tastes! 

That's it for now.  Tomorrow I'll be featuring several smoothie recipes that we've found to be easy and packed full of energy.  Later, I'll share our system for sprouting seeds and making sprouted bread and crackers.  

May you be blessed today!

Sunday, February 20, 2011

Lambchilada Recipe - Plus a word about eating raw on a farm...

I'm going to be adding several more raw food recipes today, but before I do, I wanted to share my Lambchilada recipe with you.  You don't have to use roast lamb, but if you don't it becomes plain ol' enchiladas - still good, but not as wonderful as using lamb. ;)  At the end of this post, I'll give a brief summary of how our family strives to maintain a healthful 75 - 80% raw diet while living on a farm that blesses us with an over-abundance of meat and dairy.  But first, here's how to make Lambchilada's...

In the morning, I put a frozen lamb roast into a dutch oven, oil the pan and sprinkle the roast generously with Montreal's Steak Seasoning (or just salt, pepper and garlic it).  I don't ever thaw the roast - that would mean I had to think ahead...this rarely happens.  I cook the roast at 350 for a couple of hours, checking every so often.  About an hour into the cooking, I add a 1/2 cup of water to the bottom of the pan, to keep it moist.  When the meat flakes easily with a fork, let it cool and then pull apart. 

In a large skillet saute in a bit of oil:
1 onion, sliced
2 or 3 sweet peppers, cut into strips
3 garlic cloves
When tender, add a handful of fresh spinach and the shredded lamb roast.


Next, add 2 cups of enchilada sauce.  Store-bought works, but we prefer homemade.  Here is the recipe:
Homemade Enchilada Sauce
In a blender add:
4 cups chopped tomatoes (or 32 oz. can tomato sauce)
4 green chilies (or 2 small cans green chilies)
1 cup onion, chopped
2 tsp. chili powder (or more for more spice)
1 tsp. ground cumin
1/4 tsp. oregano
2 cloves garlic
Liquify in the blender.


This looks a bit thick.  I think this is because I used rehydrated tomatoes.  Fresh or canned won't be this thick. Mix well.
Place about 1 cup mixture into the center of a flour or corn tortilla. You can add cheese too, if you like.

Placed rolled tortillas in an oiled casserole dish.

Put the rest of the sauce on the enchiladas and top with cheese.

Bake at 350 for 35-40 minutes until golden bubbly. Serve with as many raw veggies as possible!

A word about eating raw:

We've had people ask us how we maintain a mostly raw diet while living on a farm that produces meat and dairy.  Well, for one, the dairy we consume is in the form of raw goat's milk and we enjoy the benefits of kefer, yogurt, and cheeses not heated above 118 degrees - maintaining life-giving, healthy enzymes.  So the dairy part of it doesn't really apply to us.  However, we do enjoy farm-raised meat from our happy, healthy animals raised in a stress-free environment. And, yes, we do COOK our meat.

We lived for several years eating a diet of meat, potatoes, breads, and cooked grains.  We shopped organic, grew organic, ate organic...but we did it in abundance.  Fresh fruit and veggies were usually always cooked, just like the rest of America eats.  Though the food was "healthy" we weren't maximizing the benefits of living a healthful life.  By the time we realized what was happening by consuming all this "healthy" food, we were overwieght.  My husband weighed over 200lbs. and I weighed in at 175lbs (and I'm barely over 5 feet tall).  We were chunky-monkeys, to say the least.  We needed help and FAST.  After looking at several books on "dieting" and researching weightloss, we realized a "diet" isn't what we needed, but rather a change in the way we prepare our food.  We began preparing food with the idea that we want as much "life" left in it as possible.  Within 6 months, my husband had lost 25 lbs. and I had lost an amazing 50 lbs! Thus, began the lifestyle we currently enjoy.  Our friends and family were amazed at how much weight we both lost in such a short time.  We strive to eat a diet raw veggies, fruit, sprouted grains, and raw nuts.  We limit the amount of cooked meat and grains to less than 25% of what we eat on a daily basis.

Here is one way we "upped" our raw-ness:


When we get our plates for dinner, we put a layer of fresh greens on the plate.  We envision that it is cut into quarters.  (We don't actually put white yarn on our plate, I did this just to demonstrate.)

Then, when we load our plates, we put only raw foods on 3 of the 4 sections and cooked meat and/grain in the last section. 

For soups, we will oftentimes fill our bowls with cabbage salad or fresh sprouts first...


and then ladle the soup on top of that. It makes for an exciting taste with a delicious crunch.

Also, we usually start our day with a raw veggie or raw fruit smoothie, have a raw lunch, and save any cooked foods for dinner.  Sometimes, we'll have oatmeal or other cooked grain for breakfast, but then we'll limit how much cooked food is for dinner that night.

Eating a mostly raw diet has been such a blessing to our family.  We have more energy and haven't seen a doctor for health related matters in over 2 years.  We look forward to enjoying this way of life for many years to come - we encourage you to try it out and see if it doesn't do the same for you!

I'll be posting more raw recipes soon so stay tuned...

Friday, February 18, 2011

Lambchiladas with a side of RAW

About 2 years ago, my husband and I decided to go RAW...this means that we were striving for a diet that was mostly raw vegetables, fruit, and nuts.  However, since we enjoy the abundance of the meat and dairy products off of our farm, we needed a way to strike a balance.  At first, it was a struggle to know how to go about doing that, but after 2 years and 75lbs. of lost weight between the 2 of us,  I think we've finally got the hang of it.  There are times that we slip back into the S.A.D. (Standard American Diet), but then we'll read some good RAW recipe books and we're back on the RAW wagon!  This winter has been particularly challenging - my "fat" jeans were getting snug and I needed inspiration to get back to the energy-producing way of life we've enjoyed in the recent past.  My inspiration came last week in the form of a phone call from our daughter who is away at college.  "Mom, guess what!?  My friends and I have decided to eat a RAW diet for the next 30 days.  I told them that you would send us recipes and ideas to help us along.  Can you do that?"  It's just what I needed to hear to get motivated.  So, in an effort to help these young, aspiring college students conquer the offerings of the S.A.D. college cafeteria, I'll be posting several RAW recipes over the next few blog posts.  YOU GO GIRLS!!!!


Today, I started the day with a green smoothie.  It's basically just a spinach salad whipped in the blender.  Why not just eat a salad? you ask.  Well, you could do that, but it's much easier to throw chunks of veggies in the blender.  This one is a layering of cucumber, carrots, red peppers, lemon, and spinach.


It's ready to go with you or be stored for a few days in the fridge.  Just remember that the nutrition of the fresh veggies breaks down the longer you wait to consume it.  This packs a punch of energy to help you get through the day!

Tonight for dinner, I'm making "Lambchiladas".  This is basically just enchiladas with roast lamb meat.  I'll be sure to include that recipe soon.  But for today, I'll just give you a run-down of easy RAW recipes that we'll have to accompany our meal.  The menu looks like this:

Lambchiladas
Spanish RAWice
Pico De Gallo  (aka: cabbage salad)
Stuffed Peppers with Kream Cheeze topped with enchiladraw sauce
Almond Joy and Carob Coconut Truffles

At the beginning of the day, I get any nuts, seeds or dried fruit/veggies soaking in filtered water that I may need later.

These are dehydrated tomatoes from last summer's harvest, cashews, and sunflower seeds.  I won't be using the sunflower seeds today, but I'm soaking them to sprout in the next couple of days (I'll write about sprouted bread and crackers in another blog post).

For the Spanish RAWice, break-up one head of cauliflower into the food processor.


Process until the cauliflower resembles rice.  A few more spins and this will be ready.


Put the cauliflower in a big bowl and add:


2 tomatoes, chopped
1 bunch cilantro, chopped
2 jalapeño peppers, seeded and chopped
1/2 cup onion, chopped (more if you like)
1 clove garlic, minced
1 avacodo, cubed
1/2 lemon, squeezed
1/2 tsp. sea salt
1/2 tsp. cumin (optional)
1/2 tsp. smoked paprika (optional)
1/2 tsp. taco seasoning (optional)


You can put more "heat" in it if you like, just add more jalapeños or red pepper flakes.

Next, we'll make the Pico De Gallo.  We've always called it this, however I've been corrected numerous times that true Pico De Gallo has cucumbers and fruit in it.  That would be good too...so we'll just call this "cabbage salad".

Recipe:
1 head shredded cabbage
1 onion finely chopped
1 bunch of cilantro, chopped
4 jalapeño peppers, seeded and chopped
2 lemons - juiced
1 tsp. sea salt

Mix all in a gigantic bowl,  crunching the cabbage to get the juices flowing.  This will keep in the fridge for a week or more.  This is a favorite that we keep in the fridge at all times.  It keeps better than salad and makes a nice base for soups (more on that later).


What is Mexican food without sour cream?  I've found a delicious recipe that is better than the real thing, using raw cashews.
Whip in the food processor or blender:
2 cups soaked cashews (soak for a few hours to soften)
Juice from 1 lemon
1/4 tsp. sea salt
1/4 cup water or more to get the right consistency.

These are sweet peppers with the seeds removed and topped with enchiladraw sauce.  The sauce itself is sooo yummy and is good on salads or for dipping veggies. 

Here's the Enchilad-raw Sauce recipe:
2 cups chopped tomatoes
2 stalks celery, chopped
2 pitted dates
1/4 tsp. smoked paprika
1/4 tsp. sea salt
1 tsp. cumin
2 Tbsp. carob powder
1 tsp. red pepper flakes
1 tsp. garlic powder or 1 clove garlic
1/2 cup extra virgin olive oil
filtered water as needed to blend
Whip it all together in the blender, scraping sides throughout.

 For dessert, we have 2 options.  The first is a simple "Almond Joy": take a pitted date (medjool are the best) and stuff the inside with almonds and coconut.
These will tackle any sweet tooth!
 The other dessert we keep in the freezer and nibble on when we need something a bit more substantial and with a chocolate-kick to it.  Okay, so it's carob, but I can't tell the difference.

Carob Coconut Truffles
1 cup almonds
1 cup shredded coconut
1 1/2 cup pitted dates, soaked in warm water for a few minutes to soften
2 Tbsp. carob
1 Tbsp. coconut oil (virgin cold pressed)
1 tsp. vanilla
1 tsp. sea salt

Whip these ingredient in a food processor.  Using a cookie-scoop, roll balls into carob powder, shredded coconut, or press almond in center.  Freeze on plate until solid, store in freezer until ready to eat.  I've also ran these through the dehydrator to make cookies-to-go.  YUM!

I've gotta' get busy assembling the lambchiladas, but I wanted to be sure our daughter had these recipes for the weekend.  I'll post other raw recipes in the next couple of days.  Hope this helps for now!